1. Install the hub
This three-part quickstart runs Upbound on your laptop. Part one installs the hub and the Console. Part two connects a second control plane. Part three creates a managed resource and watches it show up in the hub.
This process takes up to 20 minutes and runs on local kind clusters. At any point, you can cleanly uninstall everything you created.
What the hub does
The hub gives you an API and Console for control planes you already run. Register
your control planes with the hub through hub-connector and see all your
resources across every control plane in one place.
UXP is Upbound's Crossplane distribution, adding a secrets proxy and backup and restore. Spaces run many control planes on shared infrastructure instead of one cluster each. This quickstart uses UXP in part three.
Prerequisites
Before you begin, make sure you have:
kindkubectlhelmversionv3.8.0or later- the up CLI to install UXP.
The hub installation in this quickstart is free to try from July 31st, 2026 to October 29th, 2026.
Create a cluster
The hub runs on a Kubernetes cluster. Create a local one with kind.
Demo mode publishes the hub gateway on node port 30443. kind runs your node as
a container, so map that port to 8443 on your machine when you create the
cluster.
kind create cluster --name hub-quickstart --config - <<'EOF'
kind: Cluster
apiVersion: kind.x-k8s.io/v1alpha4
name: hub-quickstart
nodes:
  - role: control-plane
    extraPortMappings:
      - containerPort: 30443
        hostPort: 8443
        protocol: TCP
EOF
Install the hub
Install the hub chart in demo mode. Demo mode bundles the supporting infrastructure a production install expects you to bring yourself.
helm upgrade --install hub oci://xpkg.upbound.io/upbound/hub \
  --namespace hub --create-namespace \
  --version 1.0.0 \
  --set global.demo.enabled=true \
  --wait
What the chart installs
Every hub install creates three components in the hub namespace:
| Component | What it does |
|---|---|
hub-core | The hub API, plus a migration job that prepares its database |
hub-connector | Registers this cluster's control planes with the hub |
hub-webui | The Console |
global.demo.enabled=true adds the rest of the stack:
| Component | What it does | In a production install |
|---|---|---|
| Keycloak | Identity provider behind Console login | Point the hub at your own OIDC provider |
| PostgreSQL | Database for hub-core | Supply your own PostgreSQL instance |
| An endpoint secured with TLS | Publishes the hub at hub.127.0.0.1.nip.io with a self-signed certificate | Use your own hostname, load balancer, and certificate |
| Demo users and their RBAC bindings | Lets you sign in and compare permission levels | Map your own users and groups |
The demo PostgreSQL writes to an emptyDir, so its pod losing its node loses
your hub data. Demo mode is for trying the hub out. Don't run it in production.
Check out Insights in the Console
The port mapping from the kind create cluster step already publishes the
Console. Open your browser to the
hub dashboard.
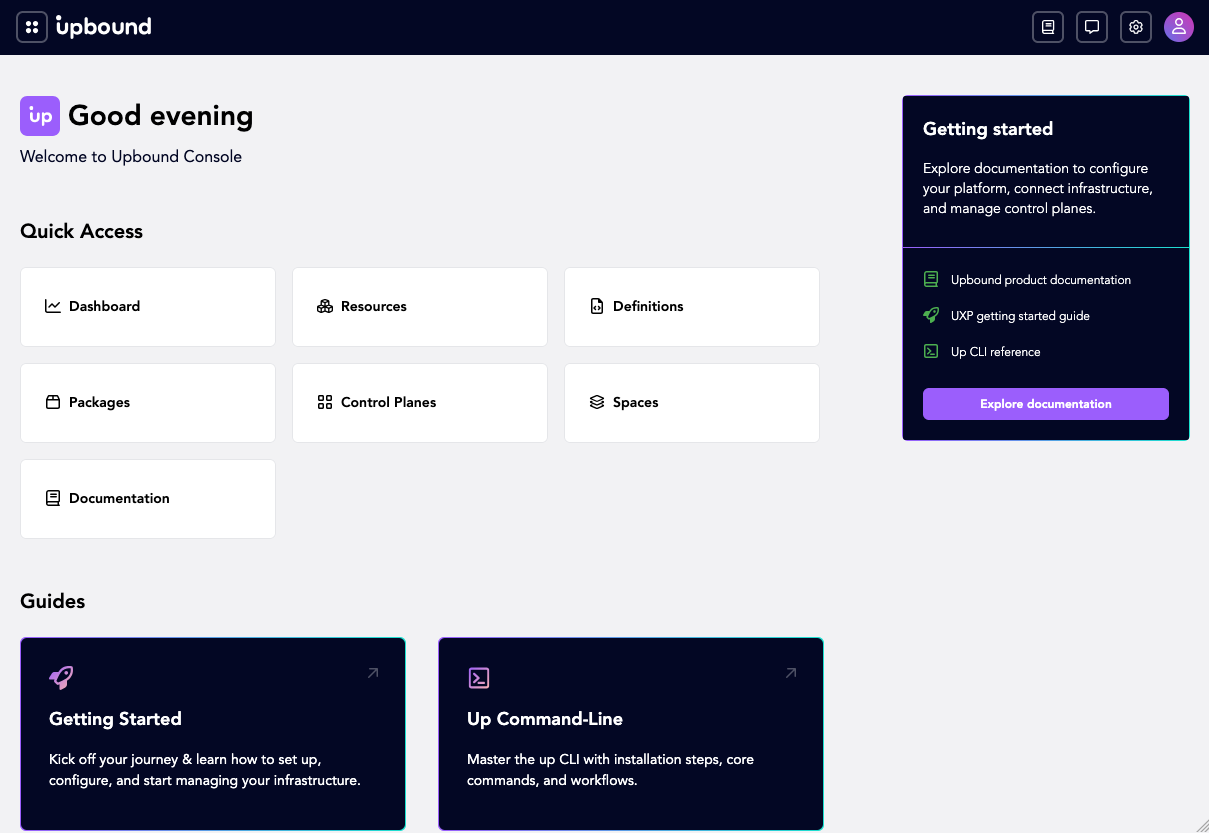
The pages under Explore are Insights, the part of the hub that aggregates resources from every connected control plane and serves them through one API. The rest of this quickstart uses Insights to watch each control plane and resource you add.
This demo uses a self-signed certificate, so your browser warns you the site isn't secure. In Firefox, select Advanced then Accept the Risk and Continue. Chrome and Safari put the same option behind Advanced. Expect the warning: the demo runs on your own machine with a certificate no authority signed. A real hub install uses a certificate you supply.
Sign in as admin with the password admin.
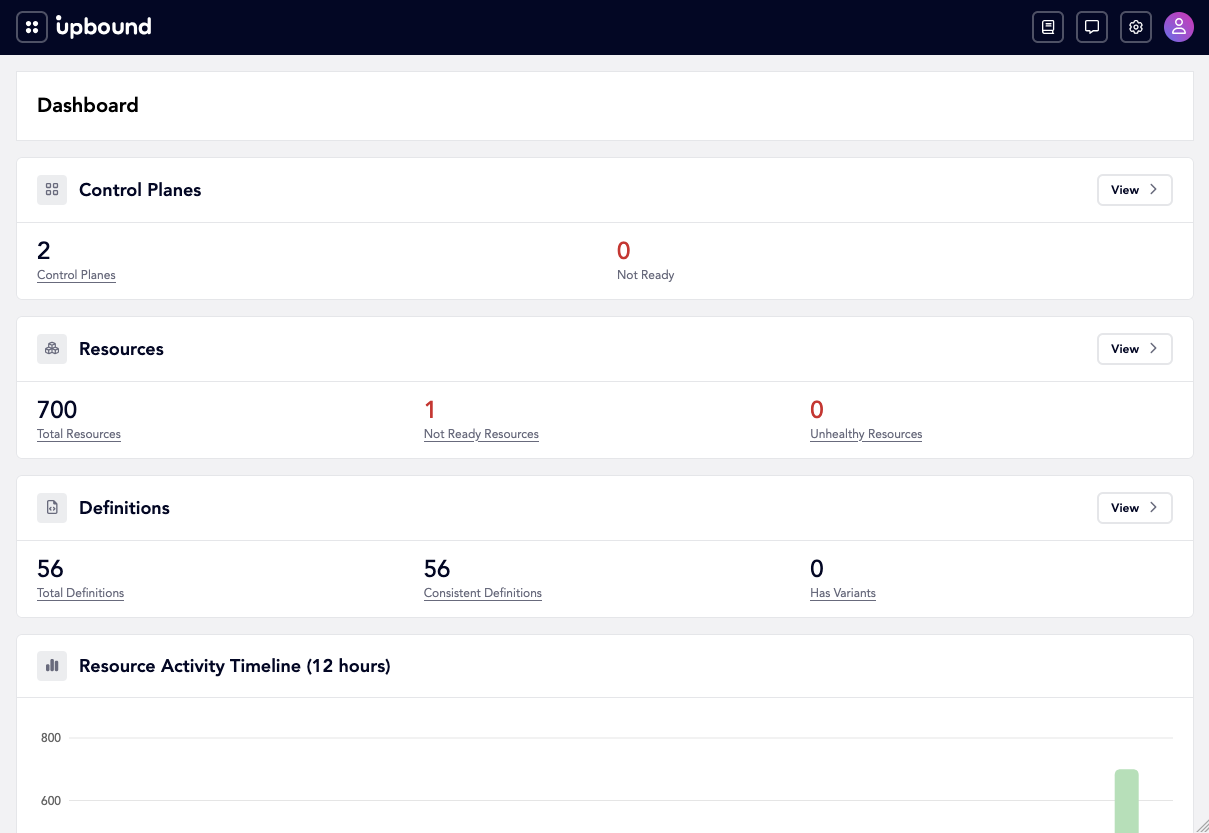
The dashboard counts the control planes, resources, and definitions the hub sees:
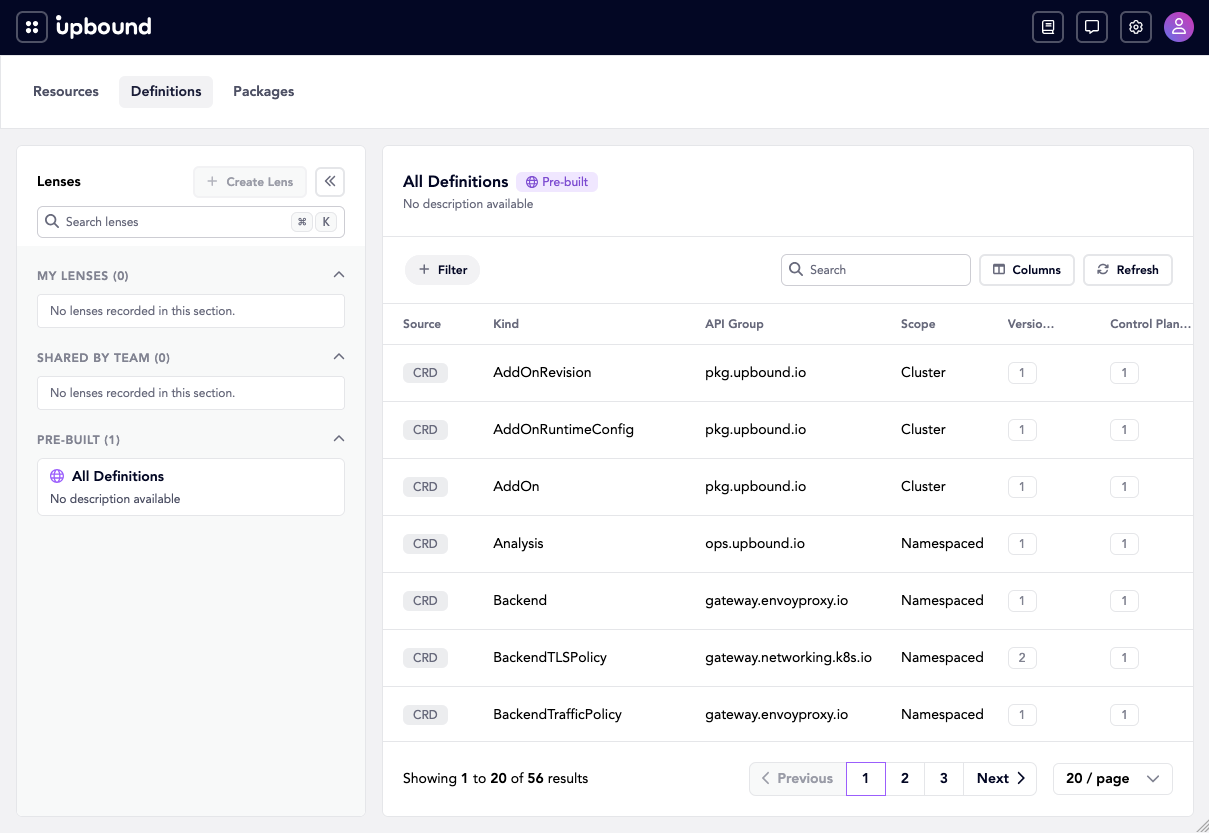
The definitions page lists every API kind across the connected control planes. See Definitions for what Insights correlates there:
Demo mode also creates five other users, each with the password password, so
you can see how the Console changes with permission level:
| Username | Group |
|---|---|
admin | admin |
editor-alice, editor-bob | editor |
viewer-charlie, viewer-diana, viewer-eve | viewer |
Next steps
- Part two to connect a second control plane to the hub.
- Insights for everything the Explore pages can do.
- Builders workshop for real cloud resources.
- Explore the hub for the centralized management installation.
If you're stopping here, follow Clean up to delete what you created.